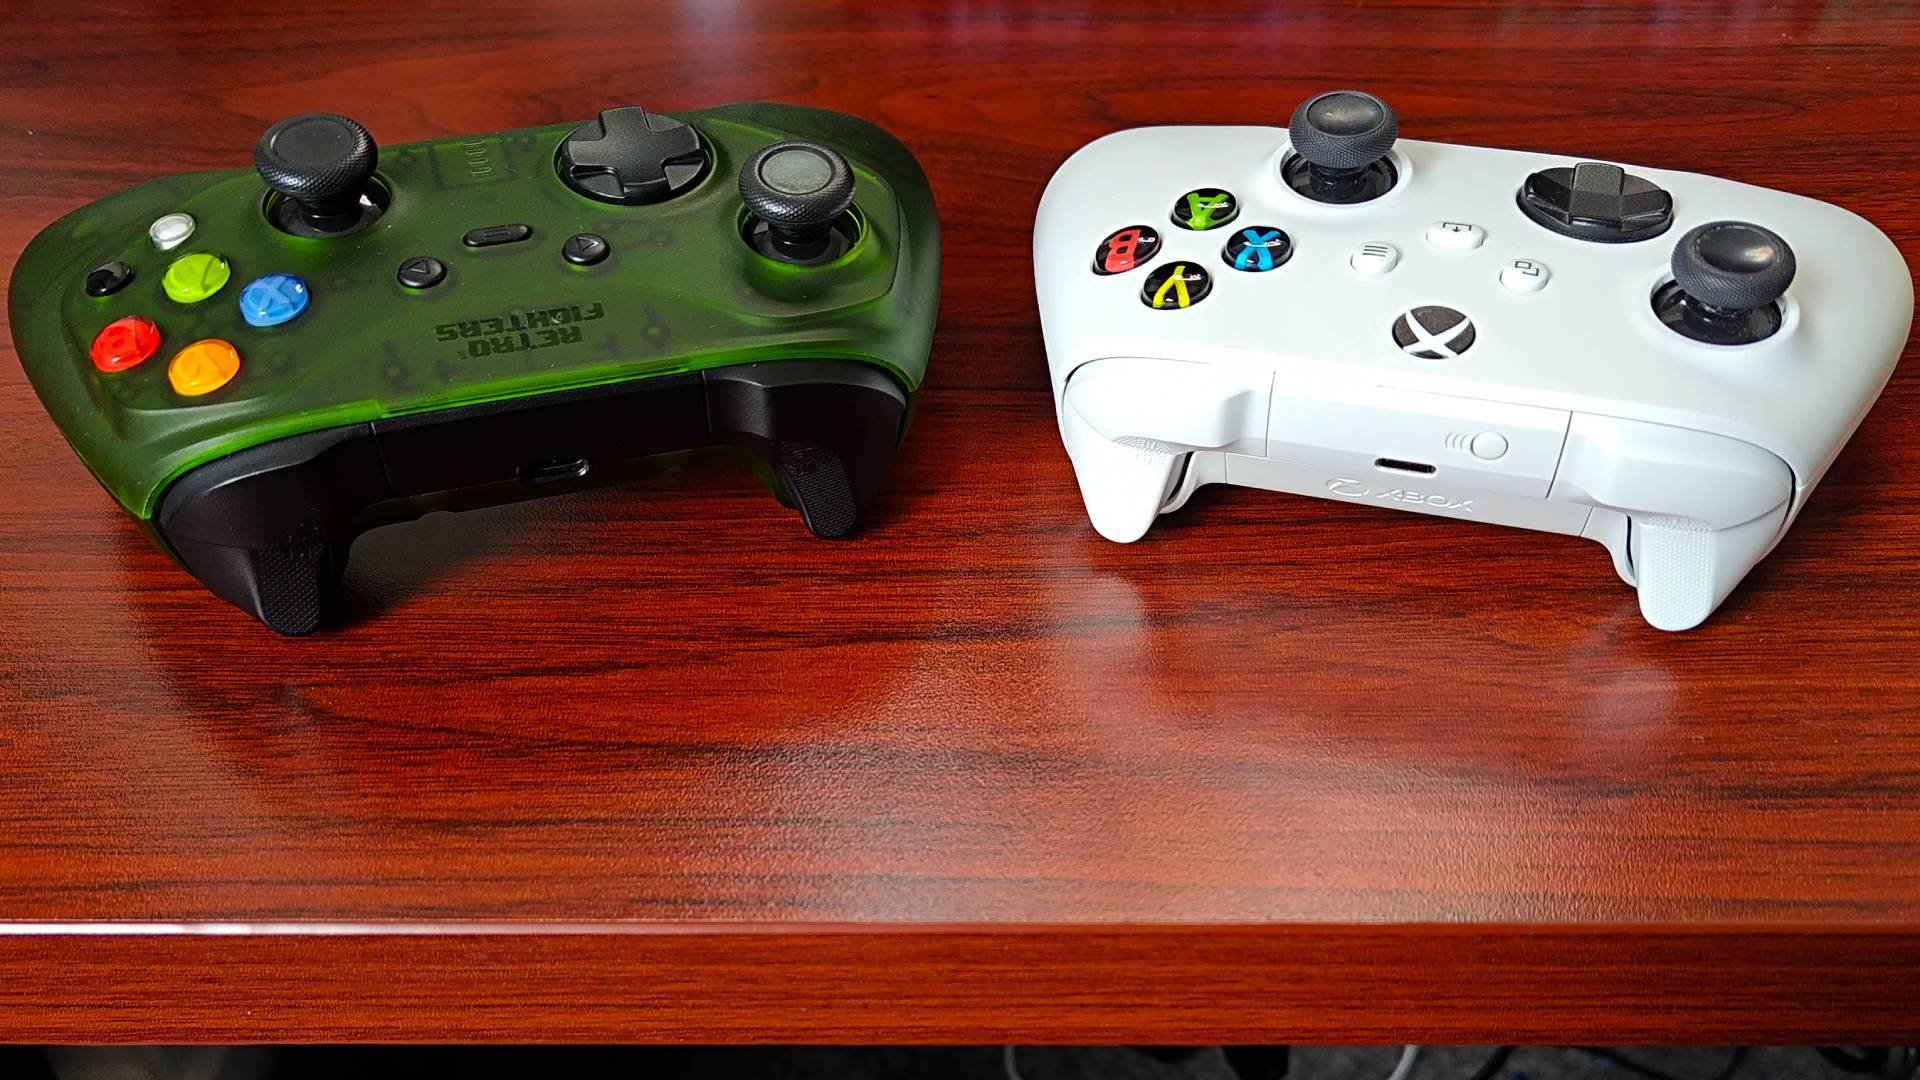
A deadzone is the region around the centre of your analog stick where input is deliberately ignored. The correct size for it is the smallest value that stops your character drifting on its own — a number you can measure in about sixty seconds rather than guess at.
Most players run an inner deadzone far larger than their controller actually requires. They then compensate with higher sensitivity, and end up with aim that feels twitchy at the centre and sluggish everywhere else.
The fix is not a magic preset copied from a streamer. It is measuring your own controller's resting noise and setting the deadzone just above it. Two controllers of the same model, bought the same day, will often want different numbers.
Note
Key Takeaways
- Inner deadzone ignores input near centre. It exists to hide sensor noise and drift.
- Outer deadzone defines how far you must push before the game reads "fully tilted." Shrinking it means you hit max output before the stick's physical limit.
- Set inner deadzone to your measured drift value plus a small margin — commonly 0.02–0.05 higher, not 0.20 by default.
- Deadzone hides drift, it does not repair it. Worn potentiometers keep degrading.
- Many games apply their own internal deadzone you cannot see or disable, which is what anti-deadzone settings exist to counteract.
- A response curve change often solves what people incorrectly try to solve with deadzone.
What the Two Deadzones Actually Do
An analog stick reports a position on two axes, each usually normalised from -1.0 to 1.0. At rest, the reading should be exactly 0.0 on both. In practice it never is. Sensor noise, manufacturing tolerance, and mechanical wear mean a stick at rest reports something small and constantly fluctuating — perhaps 0.01 on a new controller, perhaps 0.09 on a well-used one.
Without intervention, that non-zero reading is a movement command. Your character walks. Your camera pans. This is the mechanism behind most of what players call stick drift.
The inner deadzone solves it by declaring everything below a threshold to be zero. Set it to 0.10 and any reading up to 0.10 is discarded entirely. The cost is that the first 10% of your stick's travel now does nothing, so you have to push further before the game responds and you lose the ability to make very small, precise movements.
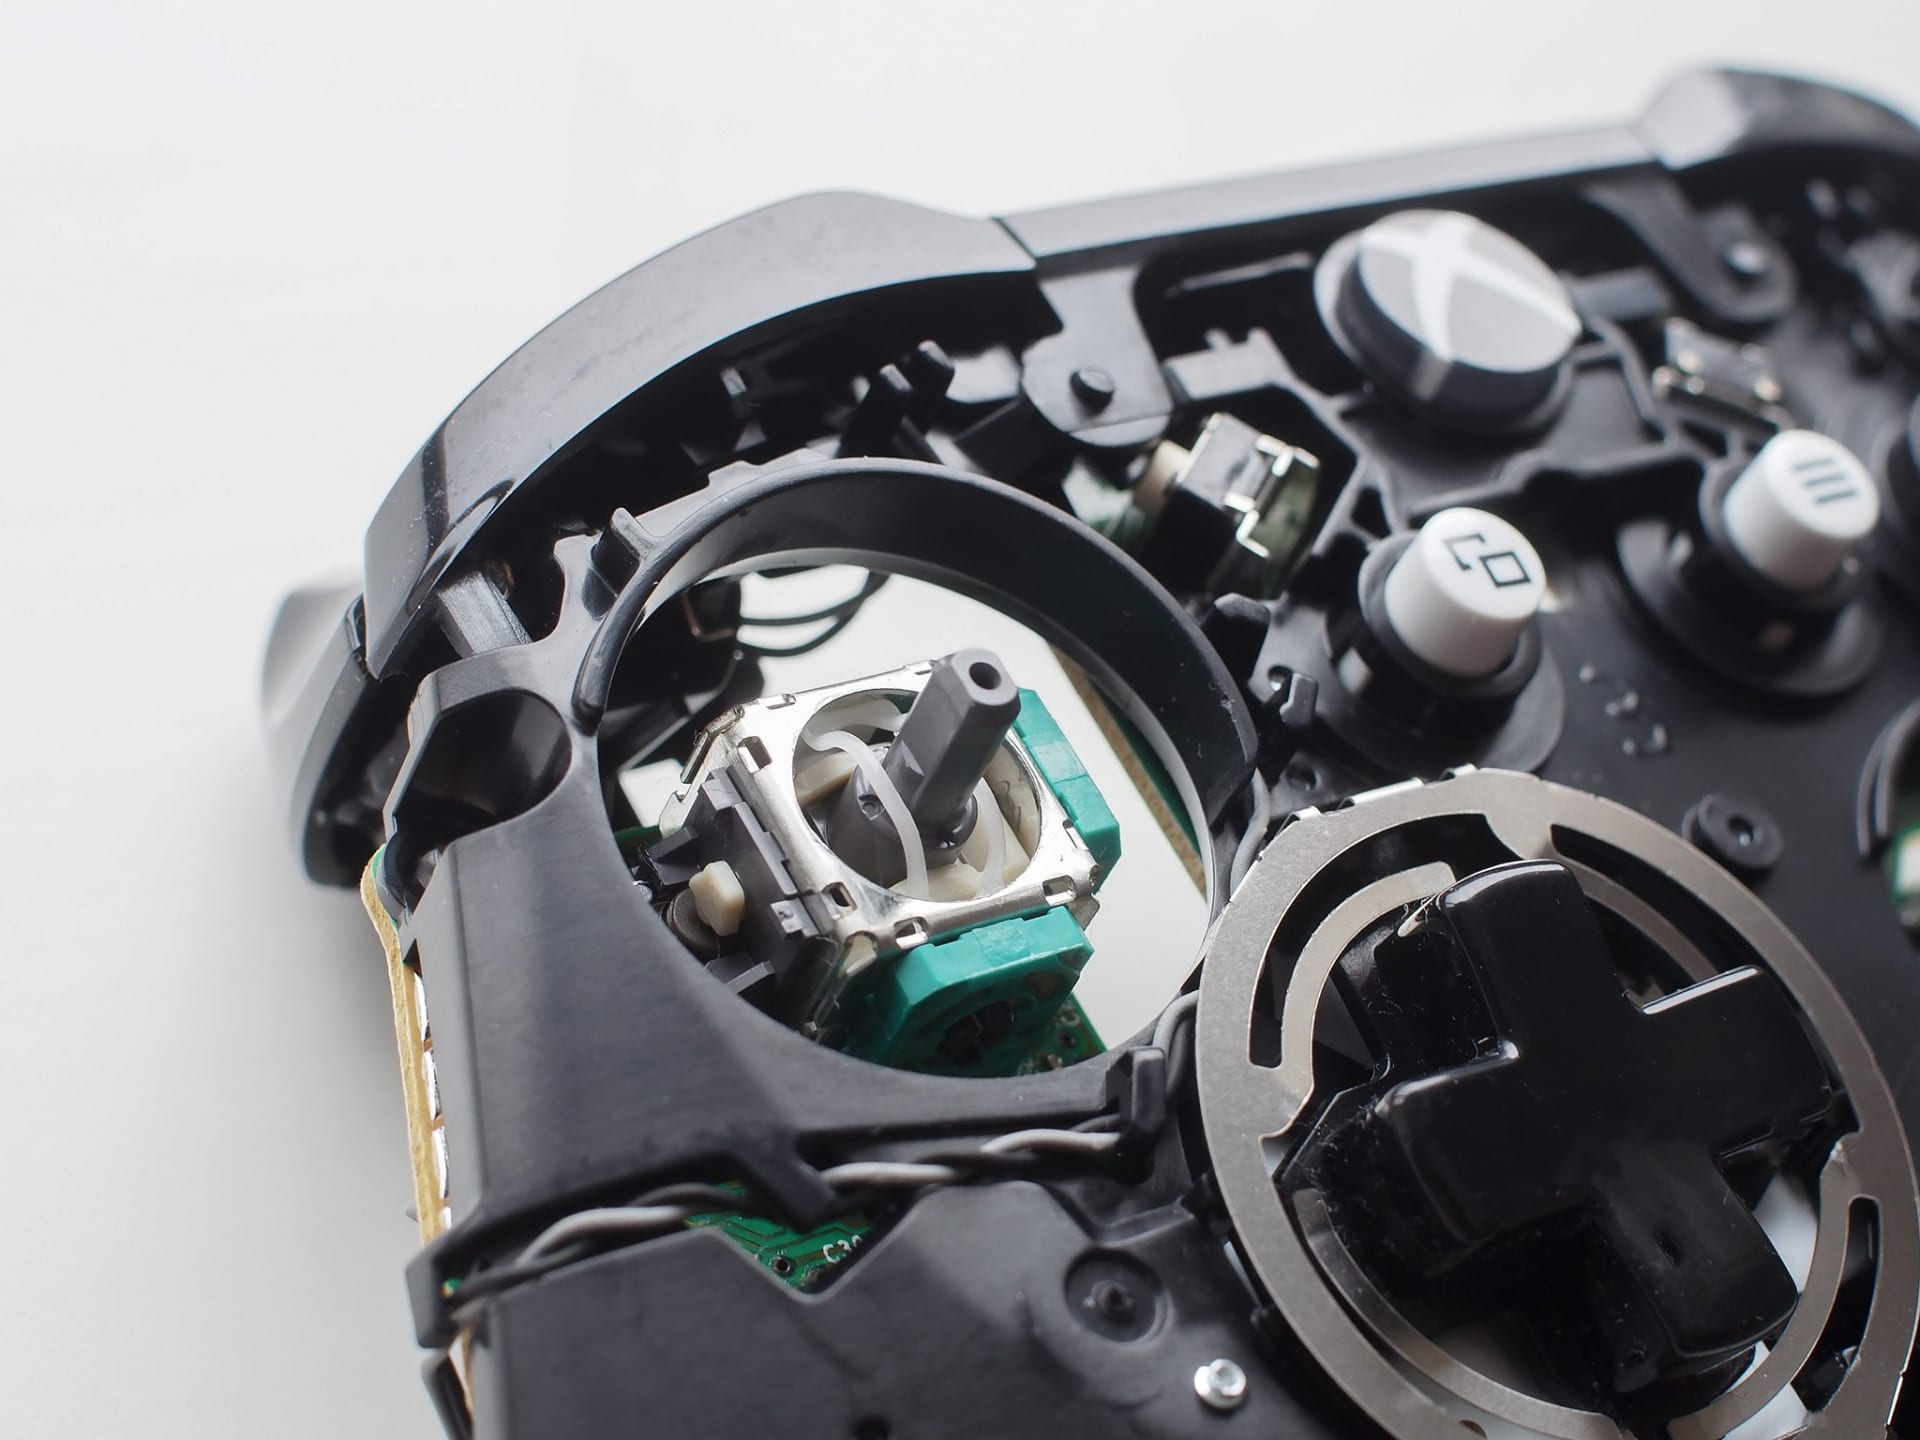
The outer deadzone works at the other end. Sticks rarely reach a clean 1.0 in every direction — the physical gate is often slightly out of round, so a diagonal push might only register 0.94. An outer deadzone treats anything above a threshold as maximum, so setting it to 0.95 means pushing to 0.95 counts as full tilt. Lower it too far and you compress your usable range, making everything feel more sensitive and reducing your precision at partial tilt.
Info
Terminology varies. Some games call the inner deadzone simply "deadzone," some call it "centre deadzone," and some invert the outer deadzone into a "max input" or "saturation" slider. If a setting makes the stick less responsive near centre, it is the inner one.
Measure First, Then Set
This is the step that separates a deadzone that works from one copied off a forum.
1. Open a Gamepad Tester
Use an online gamepad tester or the Windows joy.cpl calibration panel. Both show live axis values.
2. Let Go of the Controller
Put it flat on a desk and do not touch it. Watch the X and Y readings for 15 seconds.
3. Record the Worst Value
Note the largest absolute value either axis reaches while untouched. That is your drift floor.
4. Add a Small Margin
Add roughly 0.02–0.03. A stick resting at 0.04 wants a deadzone near 0.06, not 0.20.
5. Repeat Under Load
Do the same after ten minutes of play. Sticks often drift more once warm and after being flexed.
6. Set the Outer Deadzone
Push the stick fully in each direction and note the lowest maximum. Set the outer threshold just below it.
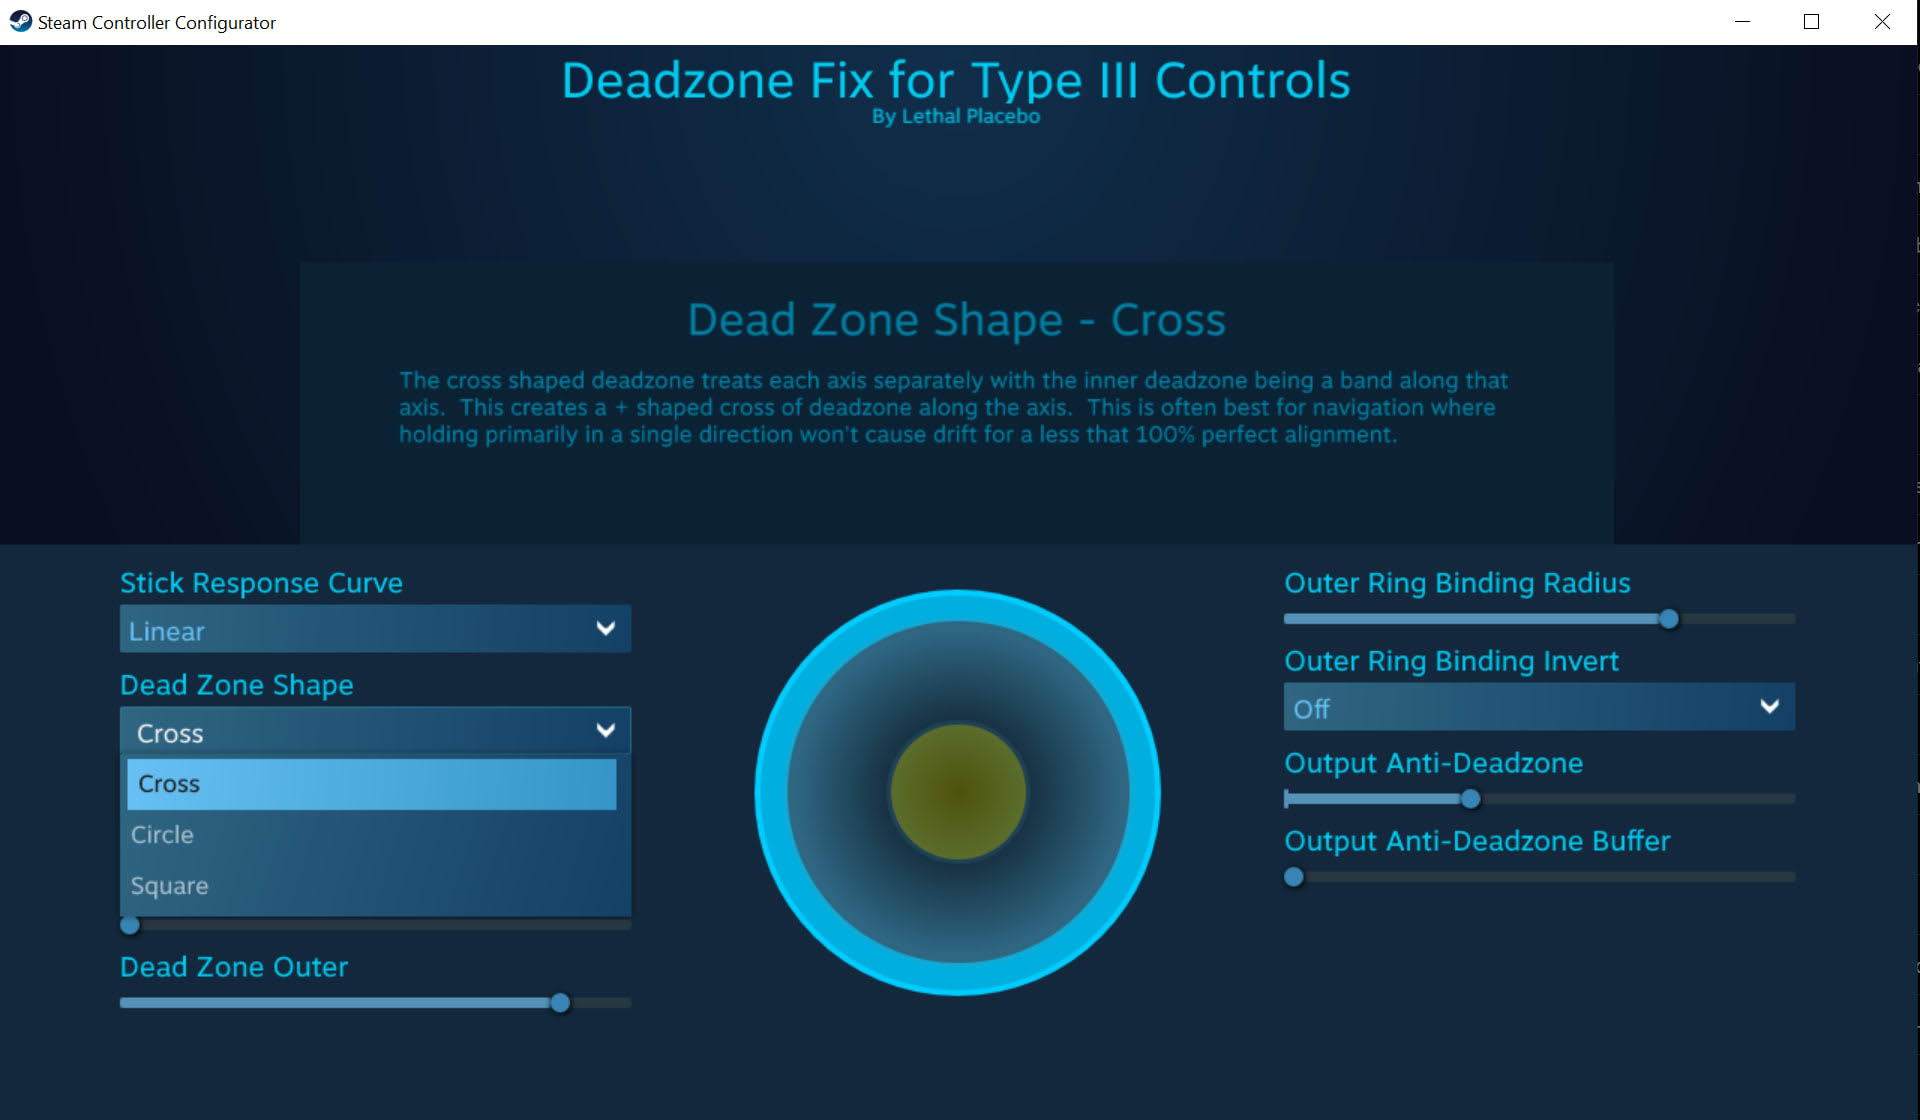
The numbers this produces are usually far smaller than the defaults people adopt. A healthy modern controller frequently measures below 0.05, which means the 15–20% deadzones commonly recommended online are throwing away three or four times more stick travel than necessary.
That discarded travel is precision you paid for. In a shooter it is the difference between being able to make a two-pixel correction and having to nudge the stick until something happens.
Why Small Deadzones Feel Better
Analog control is about the relationship between how far you move your thumb and how much the game responds. A large inner deadzone breaks that relationship at the most important point.
With a 0.20 deadzone, the first fifth of your travel produces nothing, and then output jumps abruptly from zero to whatever the game maps to 0.20. Instead of easing in, movement snaps on. Players describe this as the stick feeling "notchy" or the aim having a mind of its own near centre — and then frequently raise sensitivity to compensate, which magnifies the snap.
With a deadzone just above the noise floor, output ramps from near-zero smoothly. Fine adjustments become possible again. This matters most in games where small corrections dominate: tactical shooters, sim racing, flight games, and anything with a scoped weapon.
Deadzone vs. Response Curve — Pick the Right Tool
A great deal of deadzone tinkering is actually an attempt to fix a curve problem, and it will never fully work.
A deadzone changes where input starts. A response curve changes how input scales once it has started. If your complaint is "my character moves when I let go," that is a deadzone problem. If your complaint is "small movements are too fast but I still can't turn quickly enough," that is a curve problem, and enlarging the deadzone will make it worse.
| # | Symptom | Correct fix |
|---|---|---|
| 1 | Character moves with hands off the pad | Raise inner deadzone slightly |
| 2 | Can't reach full sprint or full turn speed | Lower outer deadzone |
| 3 | Aim snaps on abruptly from centre | Lower inner deadzone |
| 4 | Fine aim too fast, coarse aim too slow | Use an exponential response curve |
| 5 | Stick feels fine in one game, bad in another | Game-side deadzone — use anti-deadzone |
| 6 | Drift worsening month over month | Hardware wear — deadzone only hides it |
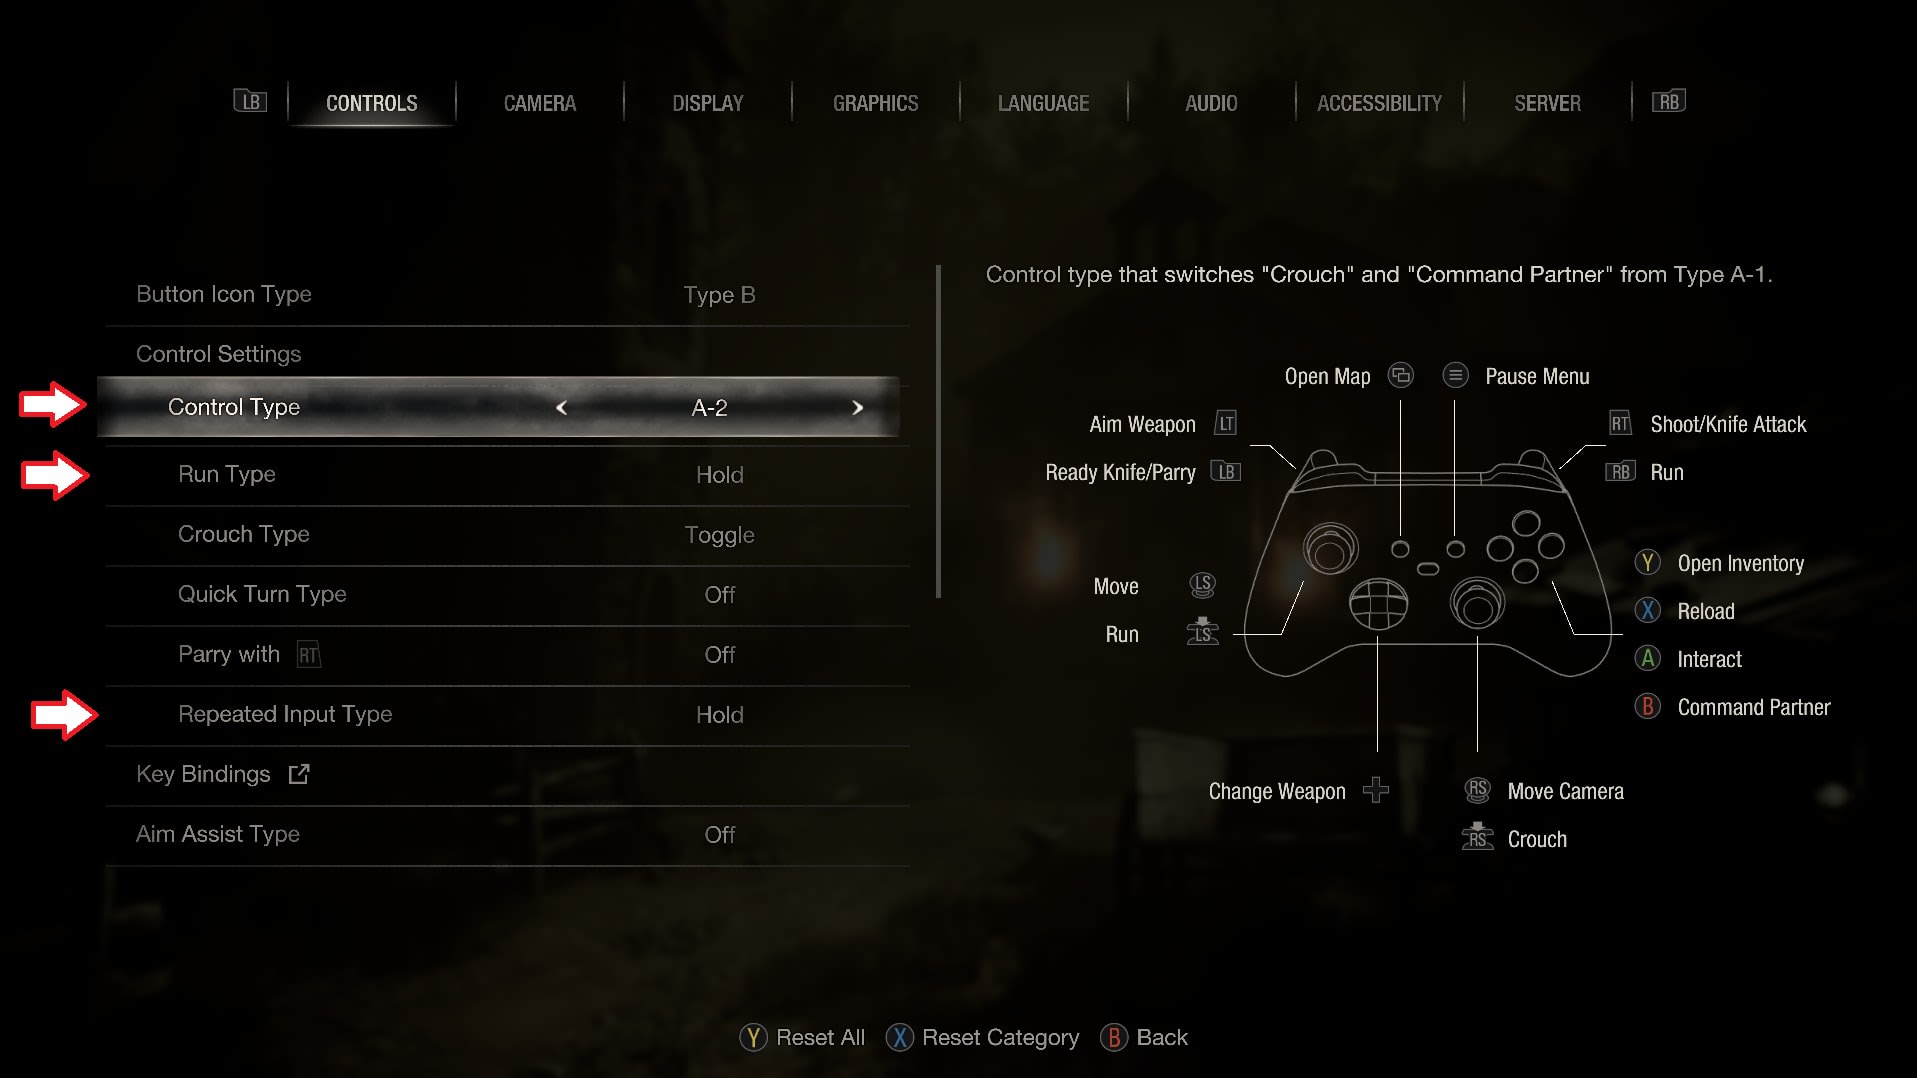
Row 5 deserves a note. Many popular shooters build their own inner deadzone into the engine and do not expose it. If you set your deadzone to zero at the driver level and the game still ignores small inputs, you are hitting the game's internal floor. Anti-deadzone counteracts this by pre-inflating the signal so that a small physical movement arrives at the game already above its hidden threshold. Steam Input exposes this directly, which is often the fastest route for games with poor native controller options.
Warning
Anti-deadzone stacks badly with drift. If you inflate a signal that already has a non-zero resting value, you inflate the drift too and can end up with worse phantom movement than you started with. Fix drift first, then apply anti-deadzone.
Deadzone Is Not a Repair
This is the part worth being blunt about. Increasing your deadzone does not fix stick drift, it conceals it.
Drift on a conventional controller comes from physical wear on the potentiometers inside the stick module — the wiper degrading the resistive track over thousands of hours. That wear is progressive. A deadzone of 0.08 that hides it today will need to be 0.12 in six months and 0.20 the year after, and every increase costs you more precision.
If your measured drift is climbing, the real options are cleaning the module, replacing it, or replacing the controller. Our guide to fixing controller stick drift covers the repair side in detail, including which of the common home remedies are worth attempting.
The structural fix is different sensor technology. Hall effect and TMR sticks use magnetic sensing with no physical contact between moving parts, so they do not wear the same way and typically hold a very low drift floor for the life of the controller. If you have replaced two controllers for drift already, that is the upgrade worth considering — our comparison of TMR versus Hall effect joysticks covers how the two differ in practice.
Where to Set It
You usually have three places to change deadzone, and they stack. Setting the same value in all three does not give you the value you set — it gives you a much larger effective deadzone.
In-game settings are the best option when a game exposes them properly, because the game knows its own internal handling. Set it here first and leave the others alone.
Steam Input applies to anything launched through Steam, including non-Steam shortcuts you add manually. It is the most capable of the three, exposing inner deadzone, outer deadzone, anti-deadzone and response curves per-game. It is the right tool for games with no native controller settings.
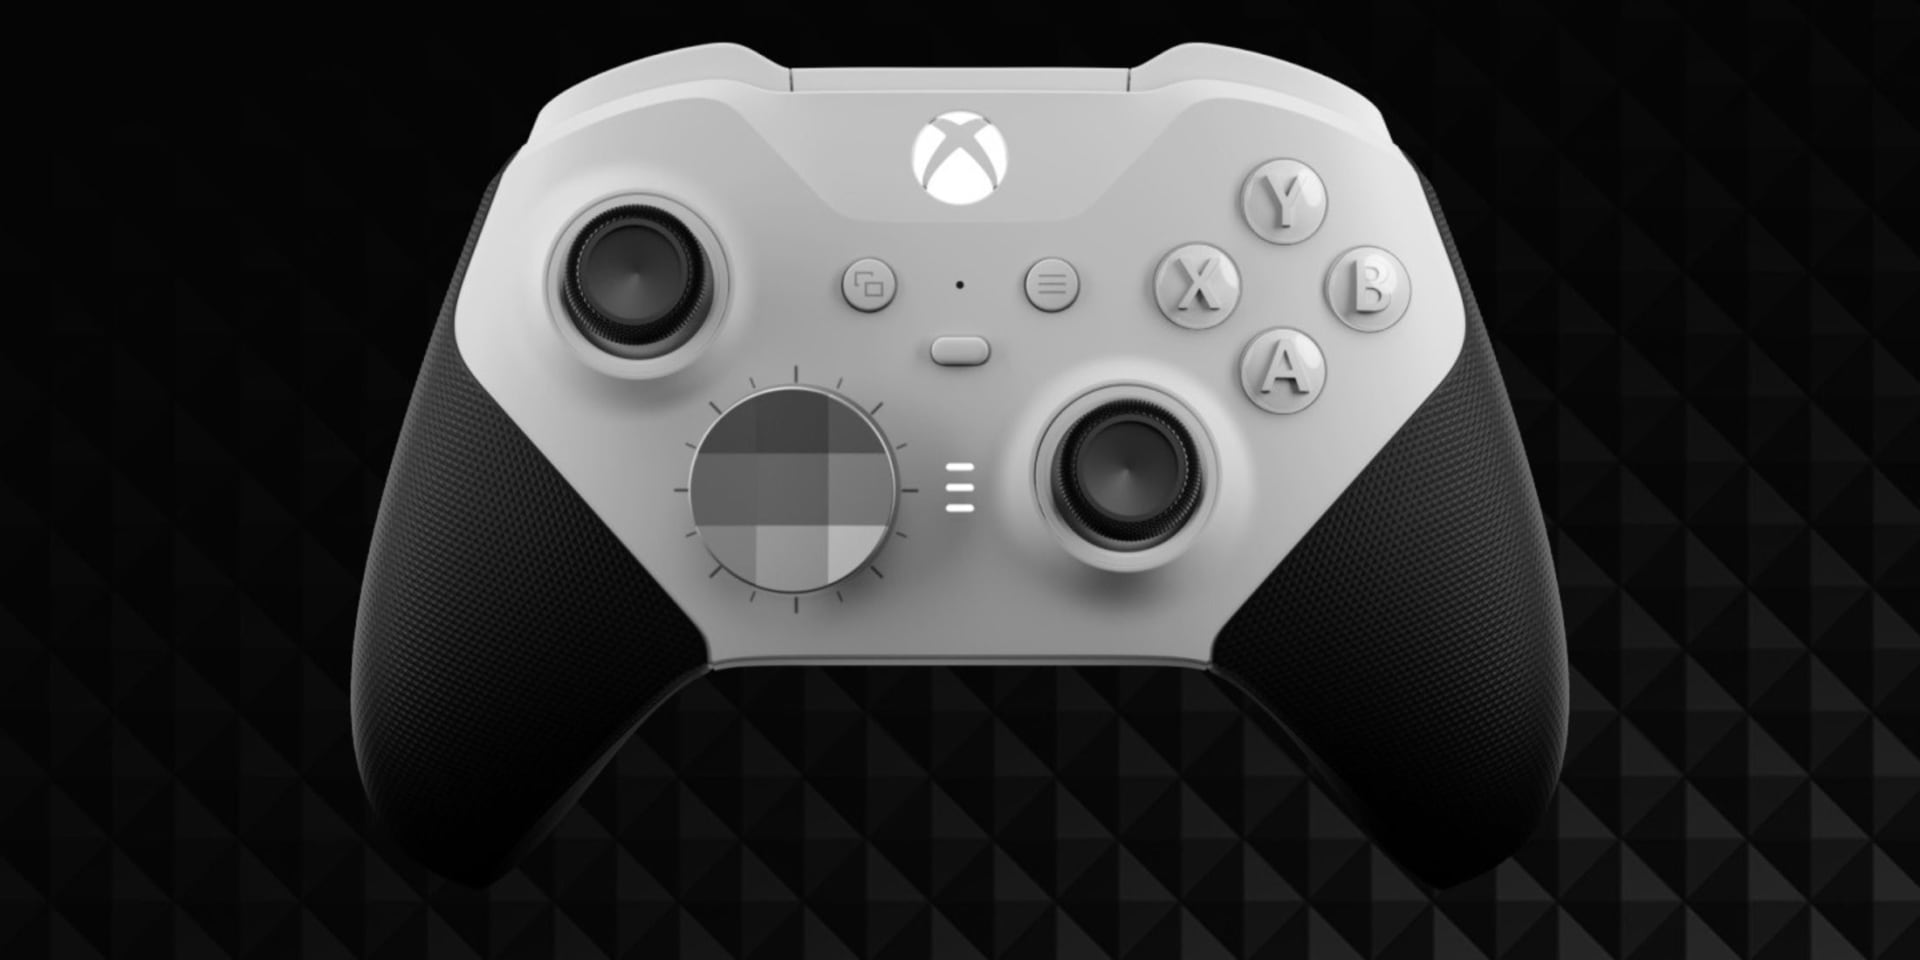
Vendor software — the Xbox Accessories app, DualSense configuration, or a third-party controller's own utility — applies at the device level and affects everything. Useful as a last resort, dangerous as a first one, because you will forget it is set and spend weeks confused about why every game feels slightly wrong.
Tip
Pick one layer and use only that layer. Before you tune anything, check that the other two are at defaults — a forgotten 0.15 in vendor software sitting underneath a fresh 0.10 in-game is one of the most common reasons careful tuning produces no improvement.
What Else Makes Sticks Feel Wrong
Deadzone gets blamed for problems it did not cause. Rule these out before you spend an evening on sliders.
Wireless polling and latency. A controller on a marginal Bluetooth connection reports position less consistently than one on a dedicated dongle or a cable, and the resulting irregularity feels like imprecision. Input rate matters more than most people assume — the same principle we cover in whether an 8000Hz polling rate is worth it for mice applies in a smaller way here.
Frame rate instability. Aim that feels inconsistent frame to frame is often a frame pacing problem rather than an input problem, and no deadzone value will fix it. Check 1% lows rather than average FPS to tell the difference, and if the frame times really are uneven, start with how to fix stuttering in PC games before touching a single slider.
Stick tension and topper height. A taller thumbstick topper increases physical travel for the same angular movement, which makes a given deadzone consume proportionally less of your usable range. If you have swapped toppers, re-tune.
Battery level. Some controllers report noticeably noisier axis values at very low battery. If drift appears only at the end of long sessions, charge it and re-measure before changing anything.
Frequently Asked Questions
What is the best controller deadzone setting?
The smallest value that stops your stick registering movement when you are not touching it. Measure your controller's resting drift with a gamepad tester and add roughly 0.02–0.03. For a healthy modern controller that usually lands somewhere between 0.03 and 0.08, well below the 0.15–0.20 values commonly recommended.
Does a bigger deadzone fix stick drift?
It hides it. The physical wear causing the drift continues, so the deadzone you need keeps growing and you keep losing precision. Treat a rising deadzone requirement as a signal that the stick module needs cleaning or replacing, not as a solution in itself.
What is the difference between inner and outer deadzone?
Inner deadzone ignores input near the stick's centre to suppress noise and drift. Outer deadzone sets the point near the stick's maximum travel where the game treats it as fully tilted. Raising the inner one costs you precision at small movements; lowering the outer one makes everything more sensitive.
What does anti-deadzone do?
It pre-inflates your stick output so that small physical movements arrive above a game's own hidden internal deadzone. It is useful in games that apply an undisclosed deadzone you cannot disable, but it amplifies drift as well as intended input, so only use it on a controller with a low drift floor.
Should I set deadzone in the game, in Steam, or in the controller software?
In the game, if it offers the setting. The three layers stack, so a value set in two places produces a much larger effective deadzone than either alone. Confirm the other layers are at defaults before you tune.
Why does my controller feel different in every game?
Because most games apply their own internal deadzone and response curve on top of whatever you set, and they do not agree with each other. Per-game profiles in Steam Input are the practical way to normalise this rather than hunting for a single value that works everywhere.
The Bottom Line
Deadzone is one of the few settings where the right answer is a measurement rather than a preference. Put the controller down, watch the axis values, add a small margin, and set that. It takes a minute and it will almost certainly give you a smaller number — and more usable precision — than any recommendation you could copy.
Then leave it alone. If the value you need starts creeping up over the following months, that is not a tuning problem to solve with a bigger number. That is a stick wearing out, and the honest fix is a repair or a controller with sensors that do not wear.
Controller photography and software screenshots courtesy of the respective manufacturers and publications, used for editorial coverage.
Sources
- SCUF Gaming, Controller Calibration, Dead Zones, and Stick Drift Explained, retrieved 2026-07-29, https://www.scufgaming.com/us/en/gaming/products/scuf-products/controller-calibration-dead-zones-and-stick-drift-explained/
- MakeUseOf, How This Controller Feature Can Improve Stick Drift, retrieved 2026-07-29, https://www.makeuseof.com/adjust-controller-deadzone-to-improve-stick-drift/
- Valve, Steam Input Controller Configuration Documentation, retrieved 2026-07-29, https://partner.steamgames.com/doc/features/steam_controller
- Pro Game Pad Tester, Controller Deadzone Settings For PS5, PS4, Xbox & PC Gaming, retrieved 2026-07-29, https://progamepadtester.com/controller-deadzone-settings/
- Controller Test Online, Gamepad Deadzone Test, retrieved 2026-07-29, https://controllertestonline.com/deadzone-test/