Steam Input's deadzone does not replace the game's deadzone — it stacks on top of it. Set 10% in Steam over a game that already applies 15% internally and your stick is dead through roughly the first quarter of its travel. Almost nobody accounts for this, which is why so many Steam Input configurations feel worse than the default.
The fix is counterintuitive. In most cases you want Steam's inner deadzone at or near zero, and you want the anti-deadzone slider doing the work instead.
Note
Key Takeaways
- Steam Input emits a virtual controller, so the game applies its own deadzone to Steam's already-processed output. The two add up.
- Set inner deadzone low or zero and use anti-deadzone to push past the game's internal one.
- Outer deadzone (the outer ring) exists because gimbals cannot physically reach full deflection on diagonals. Without it you never hit 100% output diagonally.
- Deadzone shape should be circular for camera and movement sticks. Square is for the rare game that reads axes independently.
- Response curves change feel, not capability. Relaxed for precision aiming, Aggressive for fast turning, Linear when the game already has good curves.
- Change one setting at a time and test in the actual game. Steam's live preview cannot show you what the game does downstream.
Why Steam's Deadzone Stacks
This is the mechanism behind most Steam Input frustration, and it is worth understanding before you move a single slider.
When Steam Input is active, your physical controller is hidden from the game. Steam reads it, applies everything in your configuration, and emits a virtual Xbox-compatible controller. The game sees that virtual device and has no idea any processing happened. It then applies its own deadzone, its own curve, and its own sensitivity to what arrives.
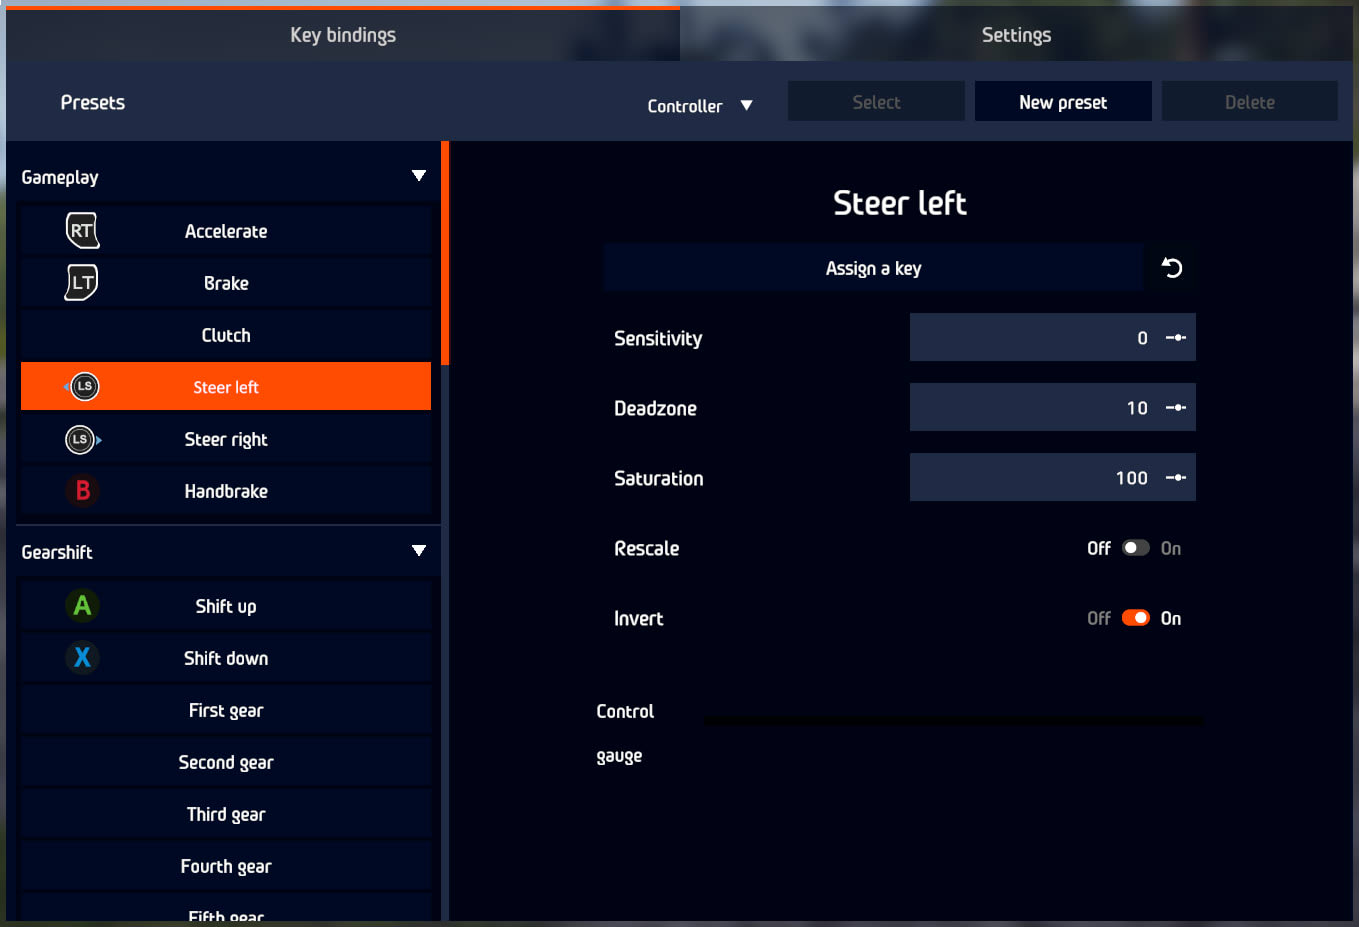
So the chain runs: physical stick → Steam's deadzone → Steam's curve → virtual controller → game's deadzone → game's curve → camera movement.
The consequence is that any deadzone you set in Steam is added to whatever the game already applies. If a game has a 15% internal deadzone you cannot disable, and you set 10% in Steam, small inputs must clear Steam's 10% and then clear the game's 15% of the remaining range. The effective dead region is substantially larger than either number on its own, and it lands exactly where fine aiming lives.
Info
This is also why a config that felt perfect in one game feels sluggish in another. You did not change anything — the second game's internal deadzone is different, and it is stacking differently on the same Steam settings.
The Settings, In the Order to Set Them
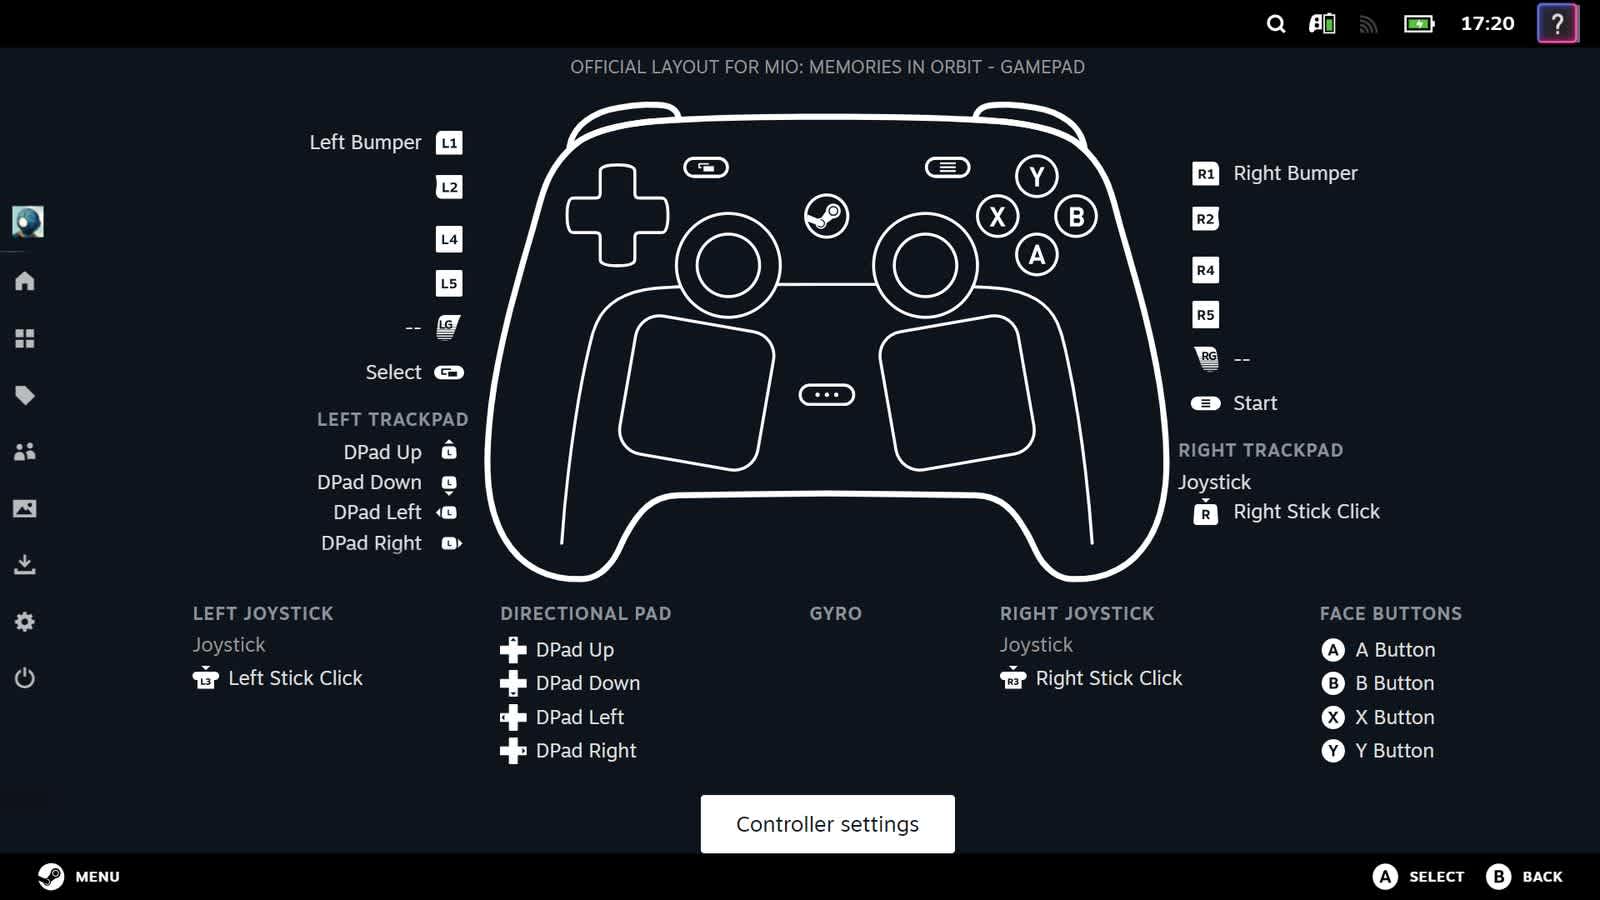
Open the game's controller configuration, click the stick you want to change, and open the gear icon for its settings. The sliders you care about are all in there.
1. Inner Deadzone — Start Low
The inner deadzone ignores input near centre. Its only legitimate purpose is masking drift, and it should be sized to your controller's actual drift, not a round number.
If your sticks are healthy, this can often go to zero or very close to it, because the game will apply its own anyway. If your controller does drift, measure the drift first rather than guessing — the 60-second measurement method is in our controller deadzone settings guide, and the underlying cause is covered in how to fix controller stick drift.
The mistake to avoid is treating this slider as a general-purpose comfort control. Raising it does not make aiming smoother; it makes the first slice of your stick's travel do nothing.
2. Anti-Deadzone — The One That Fixes Games
This is the setting most people never touch, and it is the one that solves the stacking problem.
Anti-deadzone raises Steam's minimum output so that the smallest real stick movement already arrives above the game's internal threshold. Instead of your input being eaten twice, it clears the game's deadzone immediately.
Practically: if a game has an unremovable deadzone you estimate at around 15%, set Steam's anti-deadzone to roughly that figure and Steam's inner deadzone to zero. Now the instant you move the stick, the game sees motion.
The companion slider is anti-deadzone buffer, which smooths the transition so output does not jump abruptly from nothing to the anti-deadzone floor. A small buffer prevents the "snap" feeling; too much buffer reintroduces mush. Start small and raise it only if the transition feels abrupt.
3. Outer Deadzone — The Outer Ring
This is the setting the search term "outer ring deadzone" is reaching for, and it does something different from everything above.
The outer deadzone defines how close to the physical edge counts as full deflection. Set it to, say, 5% and the stick reports 100% output once it is within 5% of the rim rather than only at the absolute limit.
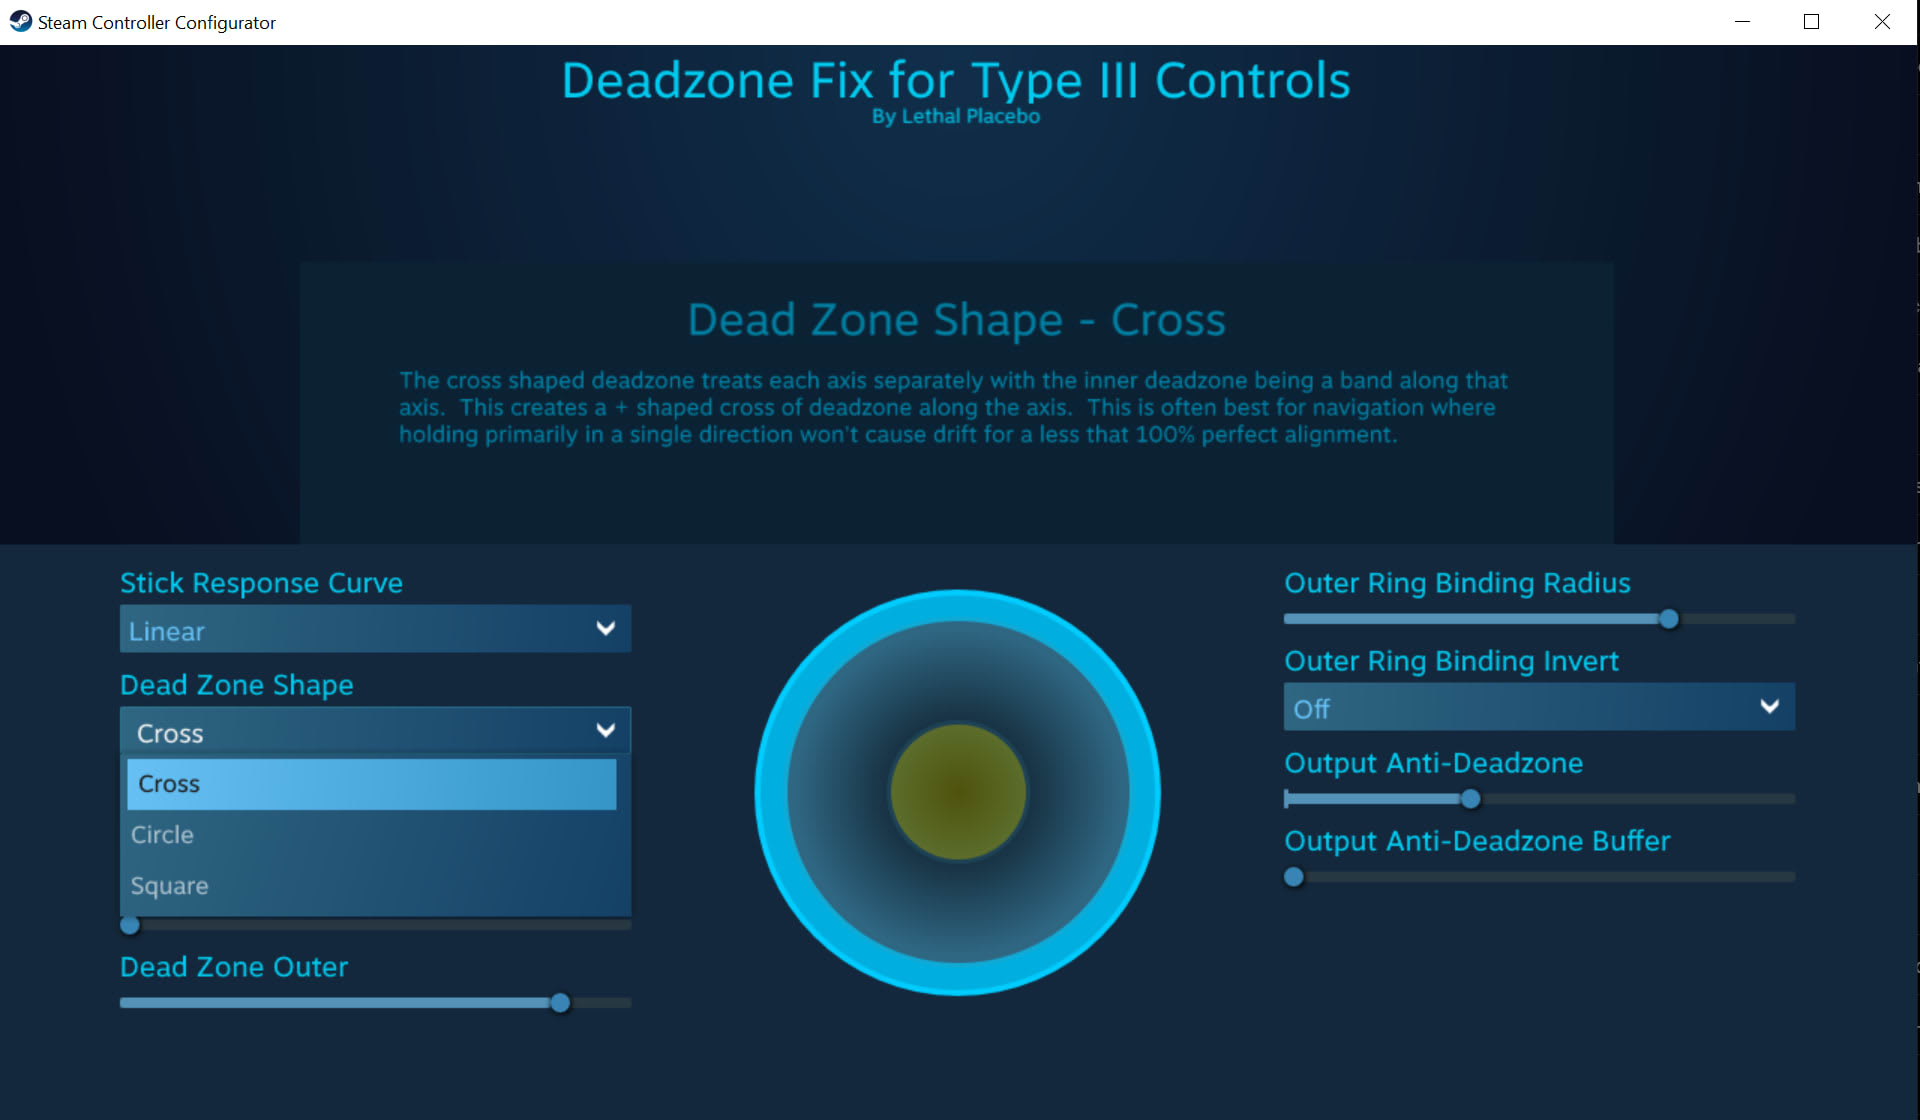
The reason this matters is mechanical. Most thumbstick gimbals travel further along the cardinal axes than along the diagonals, because the physical gate is not a perfect circle. Push a stick to the top-right corner and the raw reading is often noticeably short of full magnitude. Without an outer deadzone, you can never achieve maximum output diagonally — which shows up as a character that runs at full speed forward but slightly slower on a diagonal, or a camera that turns fastest only on exact axes.
A small outer deadzone, usually somewhere in the low single-digit percentages, clamps that away and makes full deflection reachable in every direction. Too much and you lose fine control near the edge, which matters in racing games where the last few degrees of steering carry real information.
4. Deadzone Shape — Circular Unless Proven Otherwise
Three options: circular, square, and cross.
Circular treats the stick as a magnitude and an angle, which is how nearly every modern game interprets it. This is the correct default.
Square allows each axis to reach full value independently, so pushing to a corner gives 100% on both X and Y. A handful of older or 2D games read axes separately and genuinely benefit. Most do not, and square shape in a modern shooter produces an odd, corner-biased feel.
Cross suppresses diagonals entirely. It exists for games that want strict four-direction input, and it is close to useless elsewhere.
Response Curves: Feel, Not Capability
Linear
Output tracks input one-to-one. The right choice when a game already has well-tuned internal curves, and the right starting point for testing anything else.
Relaxed
Compresses the low end so small movements produce smaller output. The best curve for precision aiming, and the one most shooter players end up on.
Aggressive
Expands the low end so small movements produce larger output. Good for fast turning and games where you need to whip the camera around, at the cost of fine control.
Wide and Extra Wide
Progressively flatter through the middle of the range with sharper ends. Useful in vehicles and racing, where you want a broad stable region around centre.
Custom
Point-by-point control. Worth it only once you know exactly which part of the range you want to change, and why.
A response curve does not give you more precision or more speed. It redistributes the precision you already have across the stick's travel. Relaxed gives you finer control near centre by giving up resolution near the edge; Aggressive does the opposite.
Because the game applies its own curve after Steam's, curves stack the same way deadzones do. A game with an already-aggressive internal curve plus Steam's Aggressive curve produces something twitchy and hard to control. If the game feels wrong, try Linear in Steam first — you may be double-curving without realising it.
Tip
Test curves at the range you actually care about. Most people evaluate a curve by whipping the stick around, which only tests the outer range. If your goal is tracking a target, test by tracking a target — small, slow, deliberate movements are where Relaxed and Aggressive genuinely diverge.
A Working Procedure
Do these in order, testing in-game after each step. Changing three things at once means you learn nothing.
Step one: disable Steam Input entirely and play for ten minutes. A surprising number of games have good native controller support, and Steam Input's value is highest for remapping, gyro, and back buttons — not for fixing sticks that were already fine. If native feels good, stop here.
Step two: set everything to neutral. Inner deadzone to zero, anti-deadzone to zero, outer deadzone to zero, curve to Linear, shape circular. This is your baseline, and everything after this is measured against it.
Step three: fix drift, if any. Let go of the stick and watch whether the character or camera moves. If it does, raise inner deadzone in small increments until it stops — and no further.
Step four: fix the dead-feeling centre. If small movements produce nothing, raise anti-deadzone gradually until the smallest input you can make produces visible movement. Add a small buffer if the onset feels abrupt.
Step five: fix diagonals. Push the stick to a corner and hold. If your character moves slower diagonally than straight, add a small outer deadzone until it does not.
Step six: pick a curve. Only now. With the deadzones correct, try Relaxed, then Linear, then Aggressive, spending real time on each.
Step seven: save per-game. Steam stores configurations per title for a reason. A racing config and a shooter config should not be the same config.
| Setting | Fixes | Starting value |
|---|---|---|
| Inner deadzone | Drift when the stick is released | 0, raise only if drift |
| Anti-deadzone | Dead feeling at small inputs | Match the game's own |
| Anti-deadzone buffer | Abrupt onset at the anti-deadzone floor | Small, raise if snappy |
| Outer deadzone | Diagonals not reaching full output | A few percent |
| Deadzone shape | Corner-biased or odd directional feel | Circular |
| Response curve | Overall sensitivity feel | Linear, then Relaxed |
What This Will Not Fix
Steam Input processes what the controller reports. Where the problem is upstream or elsewhere, no slider helps.
Worn potentiometer sticks. Rising drift over time is mechanical wear, and deadzone settings are a patch that gets less effective every month. The permanent answer is a non-contact module — the trade-offs between the two common types are in Hall effect vs TMR vs AMR sensors.
Input lag. Steam Input adds a small amount of processing latency, it does not remove any. If aiming feels delayed rather than imprecise, you are chasing the wrong thing — check frame pacing first, since inconsistent frame delivery reads as input lag to most people. Our explainer on 1% lows covers how to tell the difference.
Frame rate problems. A camera that stutters while you turn is a rendering problem wearing an input problem's costume. Start with fixing stuttering in PC games instead.
Games that ignore the virtual controller. A few titles detect and read physical devices directly, bypassing Steam Input entirely. If your settings appear to do nothing at all, this is usually why — check whether the game offers a native input mode and configure there.
Frequently Asked Questions
What is the outer ring deadzone in Steam Input?
The outer deadzone defines how close to the physical edge counts as 100% output. Because thumbstick gimbals travel further on the cardinal axes than on diagonals, without an outer deadzone you can never reach full deflection diagonally. A small outer deadzone makes maximum output reachable in every direction.
Should I set deadzone in Steam or in the game?
Prefer the game where it offers the setting, because that avoids stacking. Steam Input's deadzone is applied before the game's, so the two add together. Where a game's internal deadzone is too large and cannot be disabled, use Steam's anti-deadzone rather than its inner deadzone.
What does anti-deadzone do in Steam Input?
It raises the minimum output Steam sends, so the smallest real stick movement already clears the game's internal deadzone. This is the correct fix for games with a large unremovable deadzone. Pair it with an inner deadzone of zero and a small anti-deadzone buffer to smooth the onset.
Which Steam Input response curve is best for aiming?
Relaxed, in most cases. It compresses the low end so small stick movements produce smaller output, which gives finer control while tracking a target. If the game already applies an aggressive internal curve, Linear may feel better, because Steam's curve and the game's curve stack.
Why does my controller feel worse with Steam Input enabled?
Usually stacked processing. Steam's deadzone adds to the game's, and Steam's response curve applies before the game's own. Reset everything to neutral — zero deadzones, Linear curve, circular shape — and reintroduce only the settings that fix a problem you can actually observe.
Does Steam Input add input lag?
It adds a small amount, since your input is read, processed and re-emitted as a virtual controller. It is generally too small to notice against ordinary display and render latency. If input feels delayed rather than imprecise, frame pacing is the more likely cause.
The Bottom Line
The single most useful thing to understand about Steam Input is that it sits in front of the game rather than replacing anything in it. Every setting you apply gets processed again by the game afterwards.
That makes the default instinct — raise the deadzone until it feels safe — actively harmful. Keep the inner deadzone as low as your hardware allows, use anti-deadzone to punch through the game's own threshold, add a small outer deadzone so diagonals reach full travel, and leave curves alone until the deadzones are right.
Then save it per game, because the game's half of the chain changes every time you launch something new.
Interface and hardware photography courtesy of the respective manufacturers and publications, used for editorial coverage.
Sources
- Valve, Steam Input — Controller Configuration documentation, retrieved 2026-08-02, https://partner.steamgames.com/doc/features/steam_controller
- Valve, Steam Support: Controller Settings and Configuration, retrieved 2026-08-02, https://help.steampowered.com/en/faqs/view/1796-8A9C-A2B7-6C0F
- Valve Developer Community, Steam Input Joystick Settings reference, retrieved 2026-08-02, https://developer.valvesoftware.com/wiki/Steam_Input
- Microsoft Learn, XInput and controller deadzone handling, retrieved 2026-08-02, https://learn.microsoft.com/en-us/windows/win32/xinput/getting-started-with-xinput
- Ars Technica, How Steam Input quietly became the most flexible controller layer on PC, retrieved 2026-08-02, https://arstechnica.com/gaming/2023/06/steam-input-controller-support/